
Which dimensions are recommended respectively. installation of bathtubs and walls? . Comfort recommend to you Litex Wet Plate 50 mm for flush and furnishings. Litex 20 mm can be mounted directly to stud with 60 cm distance, with bracing for mounting the upper and lower cabinets. Litex 13 mm can be mounted to stud with a center distance of 30 cm or solid surface. Litex 75 mm for easy wall in conjunction with shower cubicles etc.
Many people recommend me to use Litex Sheet bathroom remodeling, but what kind of discs it really?
Litex board has a core of extruded polystyrene and both sides have disc seven-layer vapor-proof lamination. Taken together, this is a completely waterproof plate. The core material shows no signs of degradation even under extreme conditions. Litex boards contain no brominated flame retardants and other toxins that can emit gases. With Litex build a healthy bath which is durable for decades.
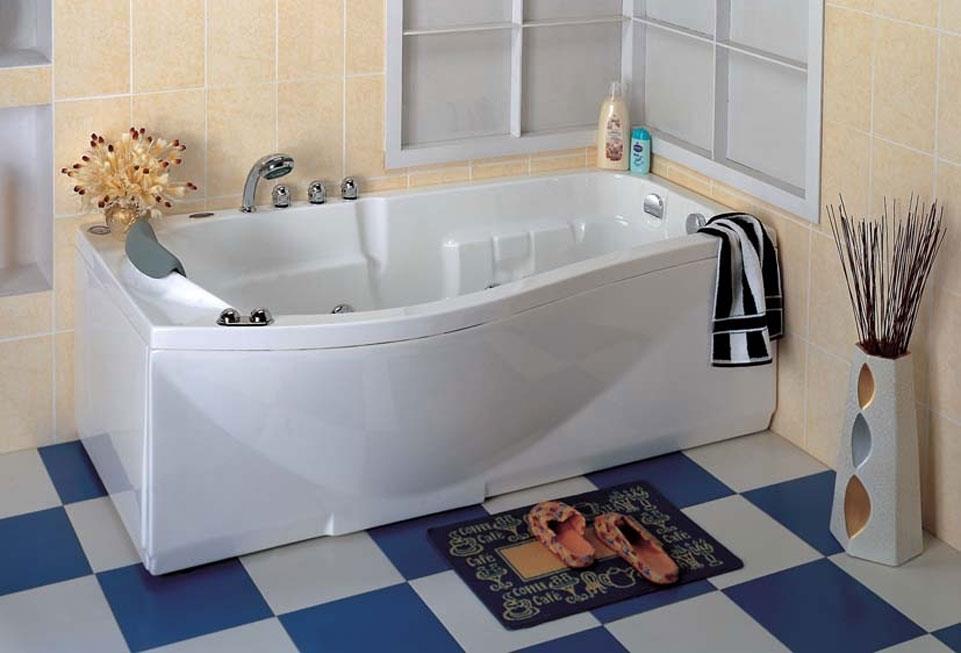
How to install a bathtub in a tiled bathroom
How the installation of the bath under the tile is carried out is of interest to many. I want to see this room cozy, as everyone is there daily. At the same time, the natural desire is to arrange all the plumbing and other items without disturbing the already formed situation. So, let’s figure out how the installation of a bath in a tiled bathroom takes place.
Installation of the bath before or after laying the tiles has its own characteristics. The cast iron version is better than all of the above in its properties. Such plumbing retains heat better, is easy to clean and retains its shine for a long time. Before you put the product in its rightful place, you need to let the tiles that were laid on the floor settle. Otherwise, after its shrinkage, there will be unpleasant consequences. Before lining the bath, you should protect the floor in case it falls. Installation should always begin with the position of the product on its side, and nothing else. But first, the container is turned upside down in order to attach all the necessary parts.
The next step is to properly position the drain bushings and connect them to the pipe that is inserted into the sewer hole. The slight slope of the product should be in the direction of the drain hole. The location of the container should be determined by the level and adjust the legs. If the installed product is on a slippery floor, then the legs are best glued with a fixing compound.
An important step is the installation of waterproofing in places where the container comes into contact with the walls. For such purposes, you can use ceramic baseboards, but before that you need to cover the bath with tiles. Such a measure will help protect plumbing from mold and mildew.
installation of bathtubs and walls
- Structured settlements – should sell yours?
- Cheap and practical designs for your kitchen
- How to install mosquito net
- safe operation of scissor lifts safe operation of scissor lifts video training
- Danger in letting apartments for rent
- Can an annuity be part of your goals
- Fast wall decoration in the apartment and the house
- How to remove stains on leather upholstery
- What is the difference between personal accident insurance and life insurance
- problem of low water pressure in the work of washing machines
