
How to ensure proper wiring for the light curtain wall-Light curtain wall – a useful appliance, especially for dark areas in buildings. Such areas include trails, alleys, door fronts, patios and other areas. You can choose a region capable of in order to install an external wall light, depending on how you want it solved your target. You can put these lights in the slightly higher areas, or anywhere else, depending on how you want the lighting effect. For proper wiring of the outer wall of lights you require to follow a few steps that can be completed within a few hours without professional help.
Step 1: Safety and Initiation
You will need to turn off the switch that secures the lamp in the main distribution box in your building. All switches in the house are connected to a power source via the place. Turning off the appropriate circuit breaker before installation is important to avoid shocks and other possible hazards. You can get after the wires from the electrical box and to separate them from each other.
Step 2: Remove the plastic insulation on the wire
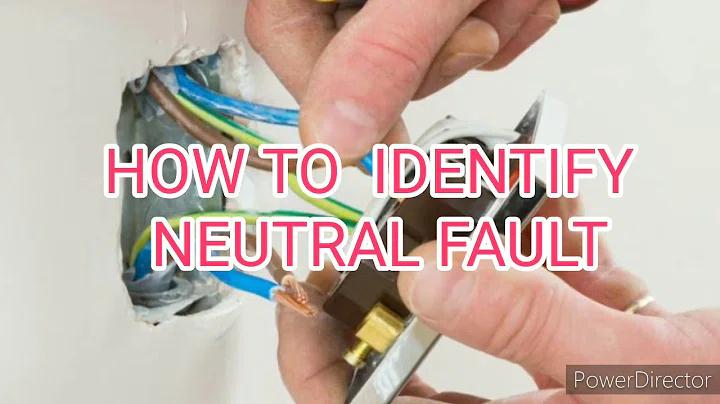
When you find the wires in the electrical box, you will encounter two different colors and bare copper wire. Make both colored wires and remove about half and inch plastic insulation inside that you get the actual wire – much like naked (third) wire. For them, using wire strippers and strip the insulation from the first black and white wires. Black wire is also called “hot” while white is called “neutral.” With the wires exposed to a half an inch after, plastic insulation removed from one end, you will not face any threat of electric shock, as long as you follow step 1 carefully.
Step 3: Contact Wire
Making connections is easy and involves two points, and a wall mount circuit in the desired location of the light curtain wall. Each of these items has a number of similar colored wires like the ones you find in the main distribution box. You will need to connect them accordingly. You have already started with the first point, from where you chose stripped wires.
You will need to connect the black wire to each other, after a similar bond white wires from the two ends. To do this, you may need to keep the light close to the wall the circuit, especially if the wires are not long enough. However, you can easily solve this problem by moving the lamp later.
Step 4: Green and Wired Communication Setting
Deprive insulation green wire in the light fixture in a similar way and connect it to the copper wire in the wall circuit. Before touching this wire, it is important to double-check that mount the main switch is off. When the wiring is done, you will have to postpone the disassembled parts in their places.
Make sure that the final connection screws and nuts on the walls, and the boxes are tight enough for the much anticipated intensity.
How to ensure proper wiring for the light curtain wall
- Central Texas Growth
- How to grow potatoes
- installing a bidet toilet seat
- How to clean a washing machine
- How to choose Multicookings
- How to wash the oven fat
- Types of installation of radiant underfloor heating
- Farrah Abraham Tells All About the Night She Lost Her Virginity
- Plumbing in the home
- How to improve the radio reception
